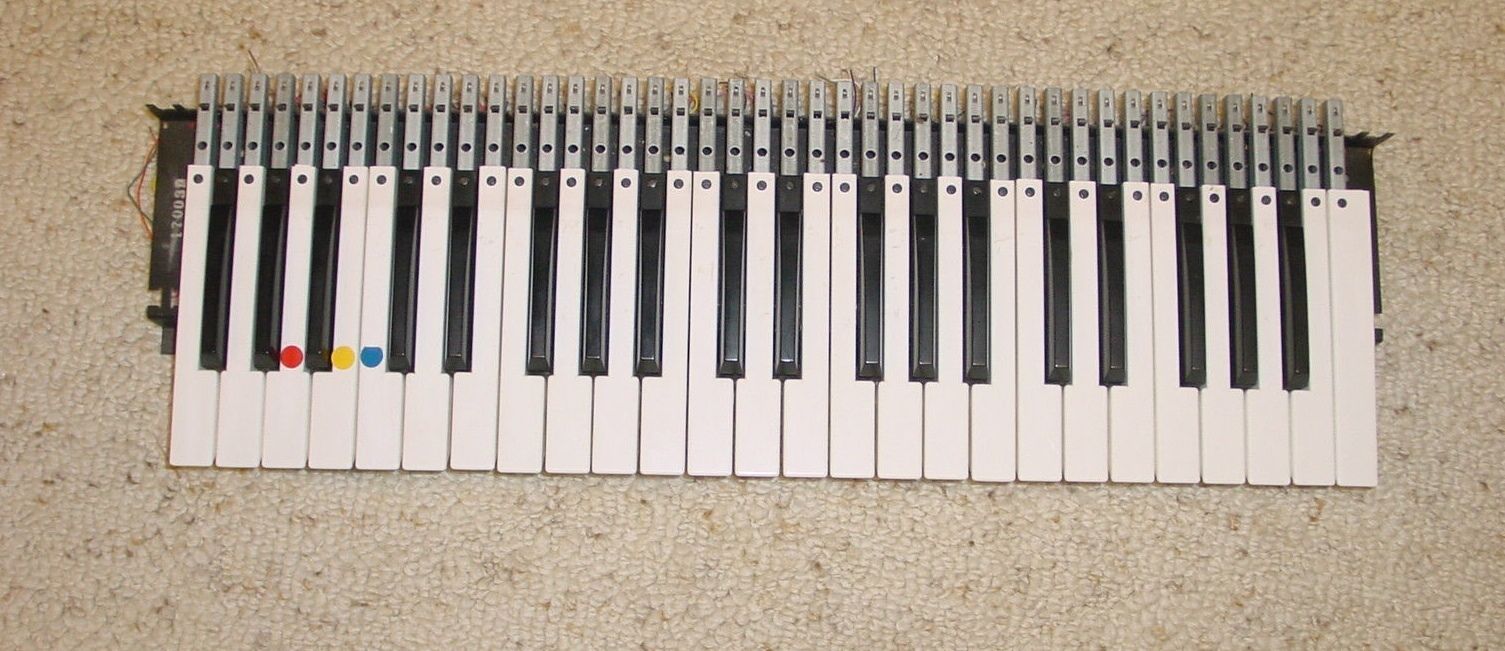
If this is the auction I am thinking it is (was $45 for several days ), I was going to bid but noticed it was missing the gate buss bar so not useful on a Mini.
Hard to tell without more detailed pictures, however. But there are a few experts that can advise accordingly.
Take a few hi res photos then ask. ‘now what’ and you will surely get some good feedback.
CAE sound has buss bars and the gold contact springs. so you can get the buss bars in there that you need. (Minis have three) Then you’ll need a string of precision resistors (not sure the value) one per key wired into the springs. And yeah, while you’re in there get new bushings installed. Vintage vibe has the best price for those. After all that is done you’ll need the cinch jones connector to connect it to your Mini’s wiring harness.
Sounds like a lot of work and it will be, but if you take it one step at a time, no problem.
Simpler would be to send it out and get the Optokey kit installed if you’ve got the $$$$.
You can make it work, and I guess since the supply of these is pretty much zero, you did well!. If it can get another Mini saved then you must!
I’d say tear the whole thing down to the frame, take stock of whats there, order parts as needed and make a great keyboard out of it.
What I wanted to do was just dismantle my keys and put them in my rig.
I have an already working keybed its just loose and starting to fall apart.
The main thing is my keys are REALLY yellow and chipped up.
Now im slightly confused, I dont know much about building a harness or soldering or buss bars or springs.
I was really hoping it would be like my other rigs when a strat fell into my synth off the wall it broke out 5 keys and I removed the keybed and took it apart.
Then put in replacement keys.
I know ebay has replacement keys.
Also I read the man had two for sell and the one that sold is already in the guys moog but I dont know if he removed keys or what.
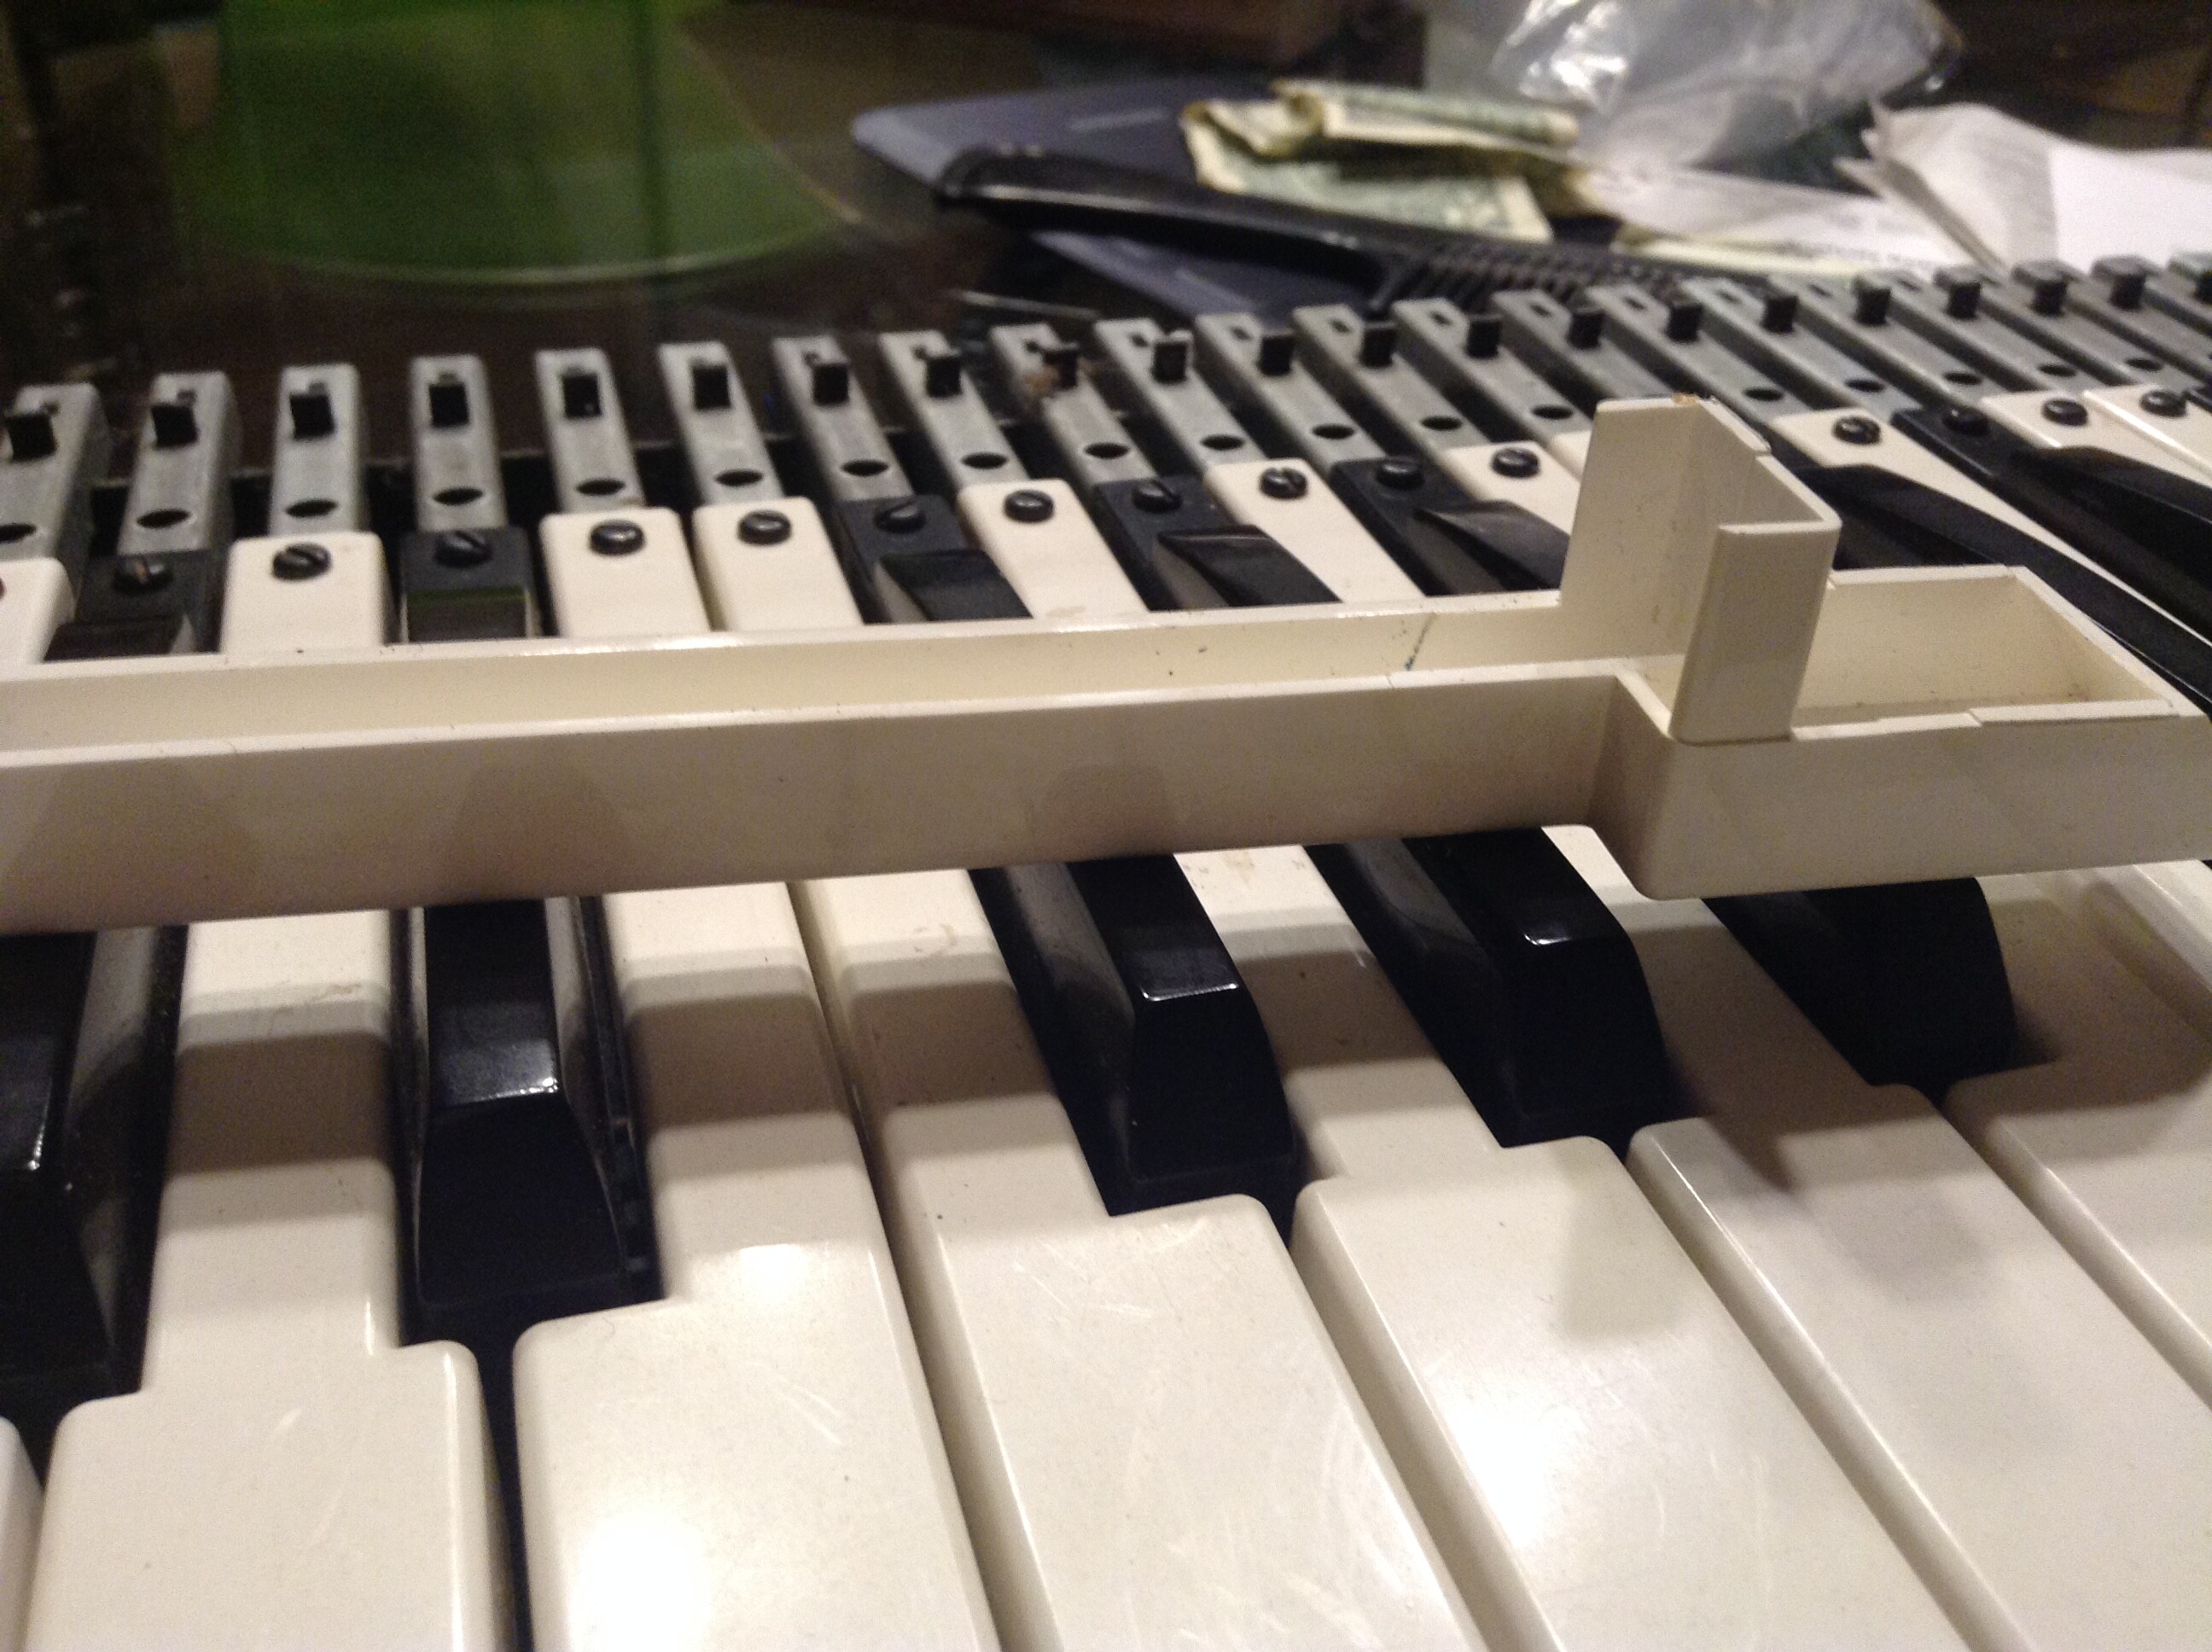
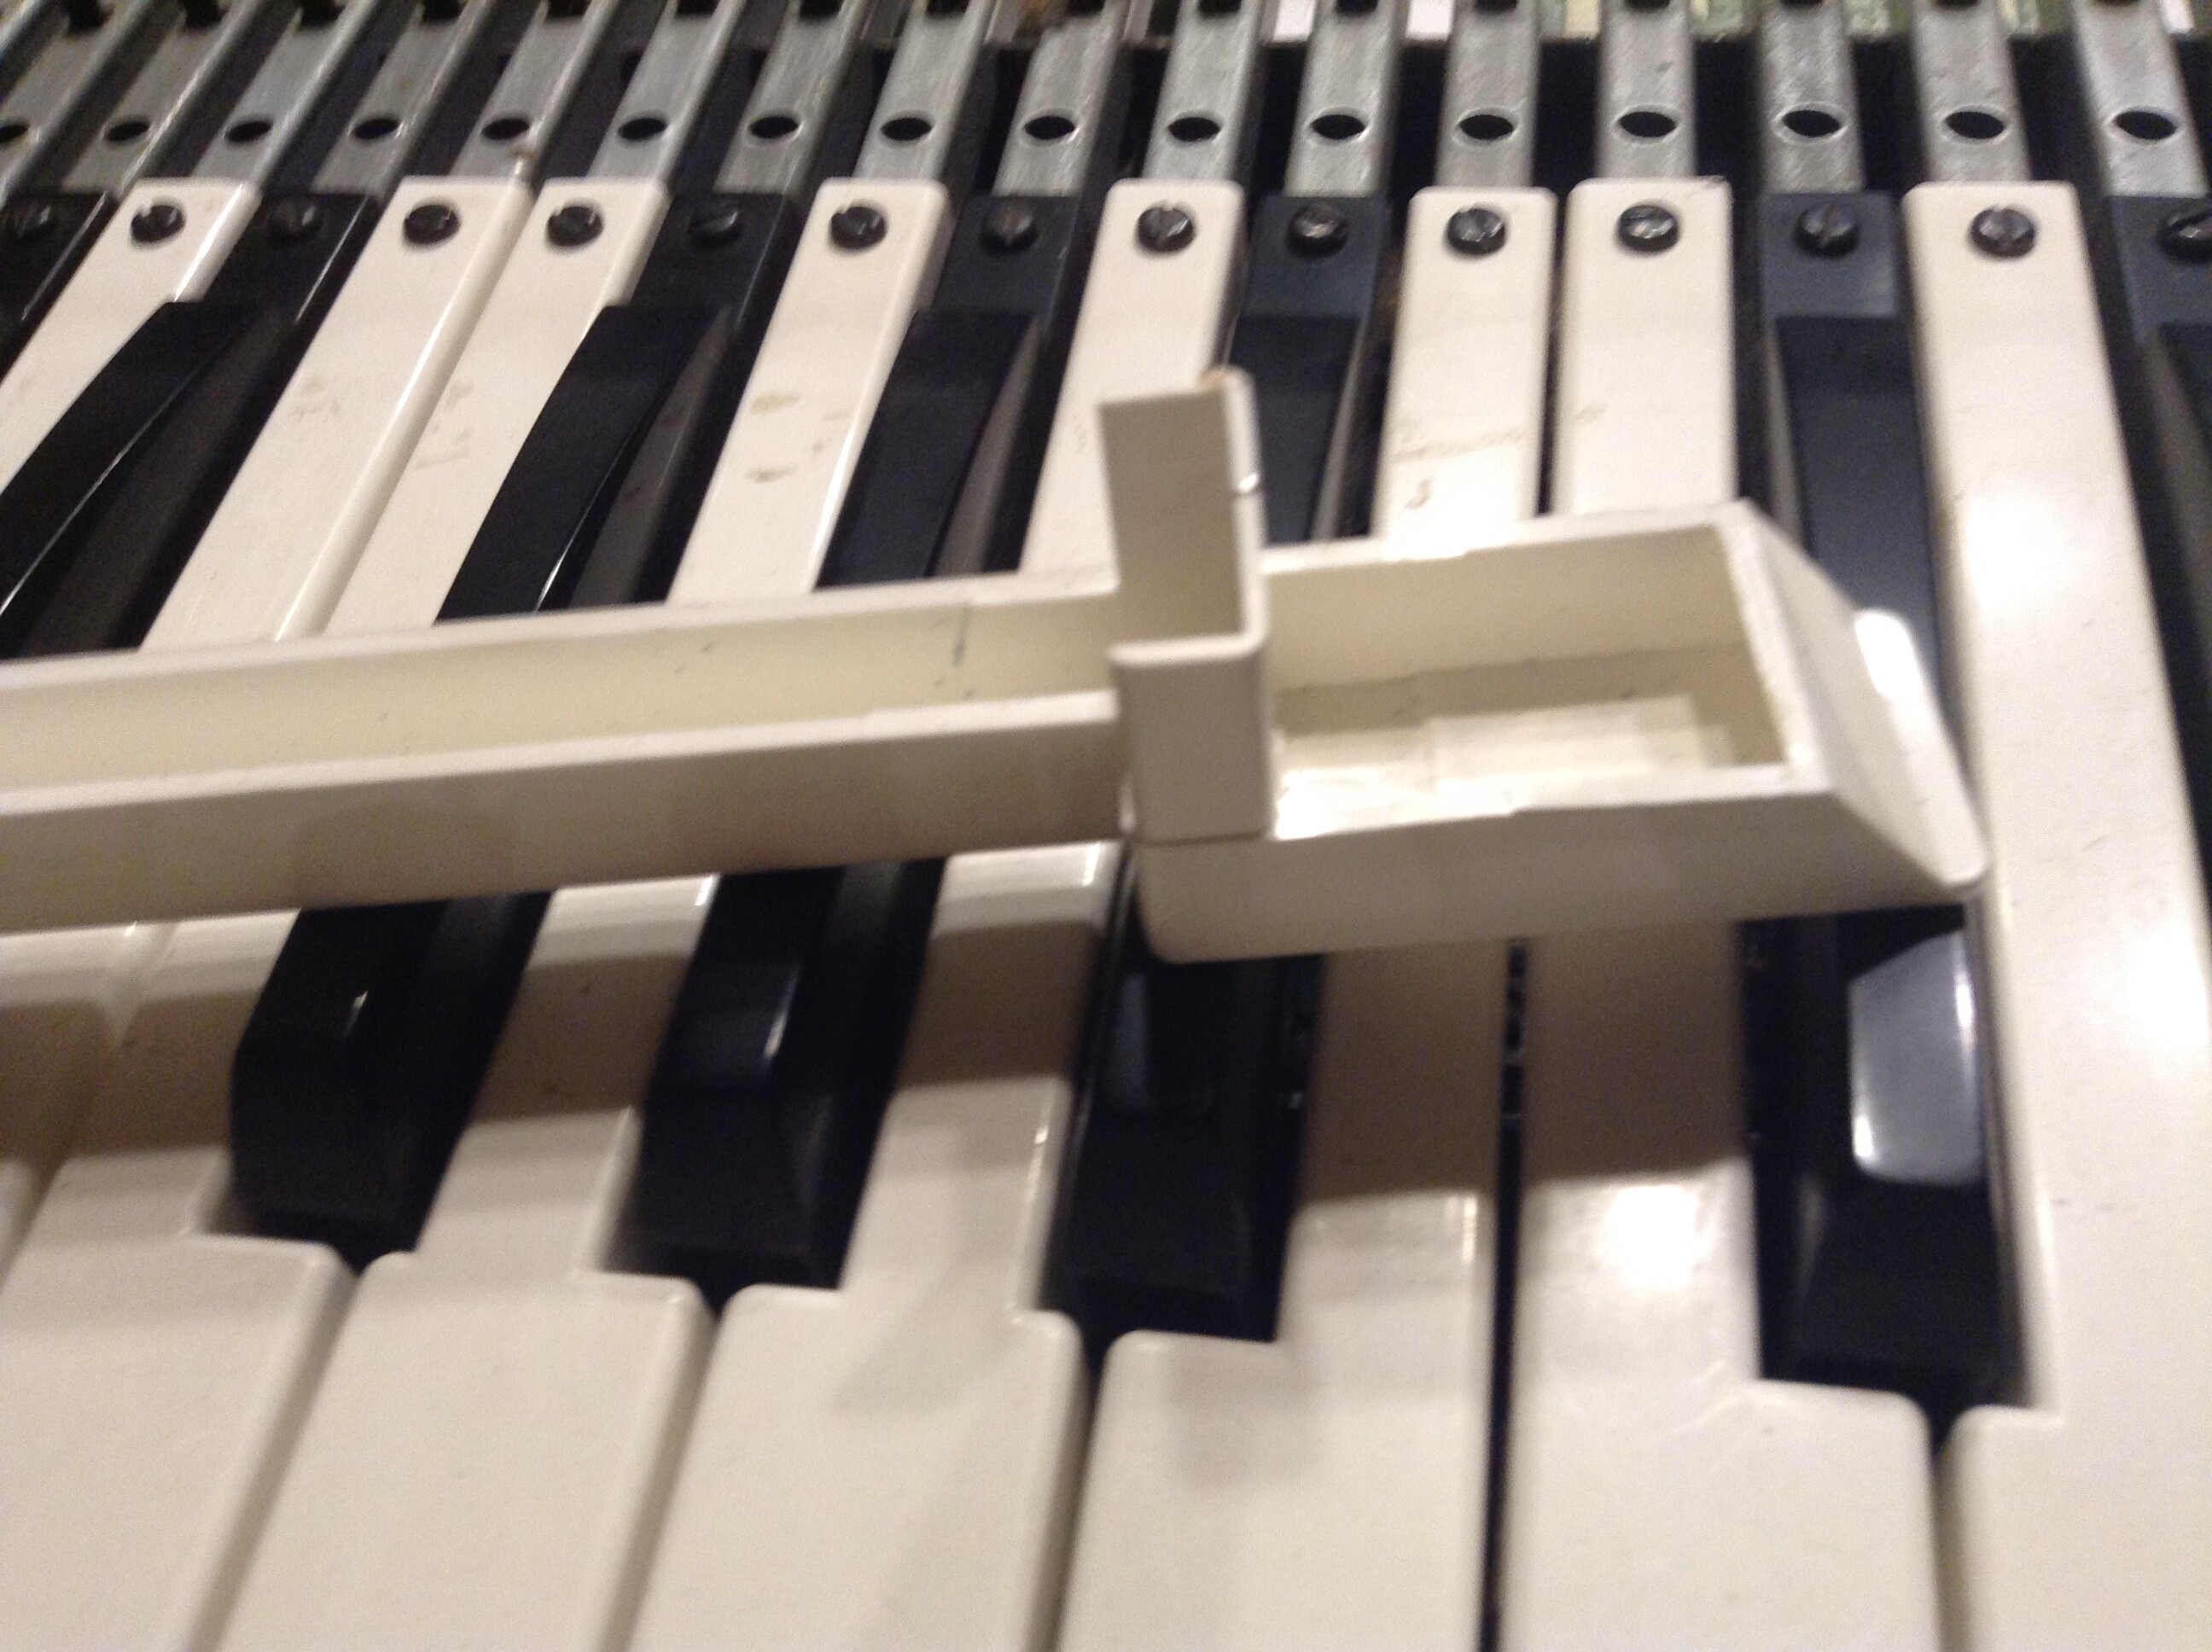
The keytops remove easily by the small black screw on the back/top of the key. Have to remove the white keys to access the black key removal. Can be done in sections from C to E, F to B. I just recently replaced the keytops on a Moog 952 restoration. Used Novus plastic polish to make them look new. Have to replace and remove by lifting the back where the screw is and reverse to install. There is a small metal lip the key front fits over with a little wiggle room to adjust it’s position on the metal. Easy to do really and does make a functioning keyboard look nice if the old keys were dammaged or yellowed..
If all you need is the key tops, then that’s 123 easy. !!!
Easy-peasy, remove the existing keyboard assembly (4 screws, washers, spacers) have to remove the left hand assembly too (2 screws) get it out, blow the dust out of it, unscrew the existing keys and fit the “new” ones.
might want to throw new bushings in while you’ve got it out.
sorry for the confusion, posting pics of the bottom side led me to think you needed more than the plastic key tops.
~Steve
keys that “triple fire” or act erratically typically need their contacts cleaned. This means the gold buss bars underneath and the fragile little springs that contact them. Use no abrasive, but instead alcohol on a swab and wipe around CAREFULLY. make sure to not leave any fibers behind. There are more intense chemicals that will remove oxidation, but gold doesn’t substantially oxidize so unless you’ve got damage or someone previously got in there with some aggressive methods, a good alcohol wipe down and dusting should bring it back to life. If parts are damaged - hey, you’ve now got another keybed to use for parts! the springs, little clear cap domes, metal keys, rubber “puller” things, etc.. all those parts are good spares. keep all that stuff.