
First off, sorry for some out of focus photos. I'll try and get better ones sometime.
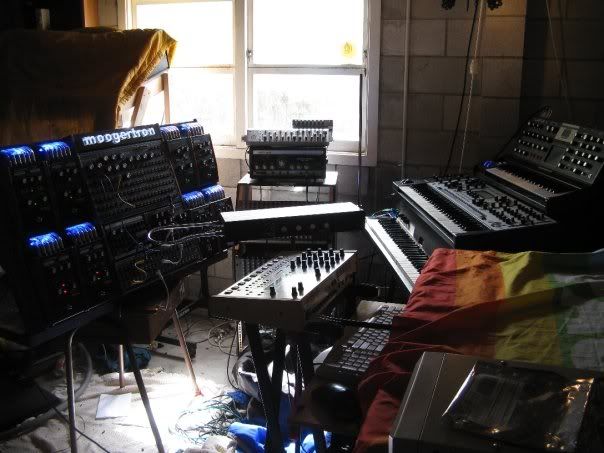
Second, apologies to "Bryan B" for his coining of the name "Moogertron" We came up with a name around a year ago, but obviously didn't have the beast ready.
So what is it?
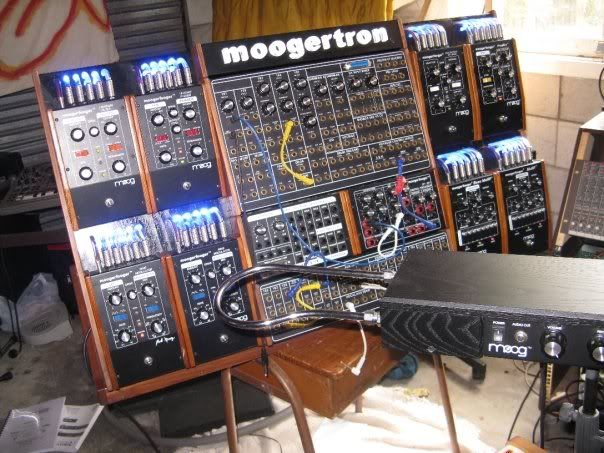
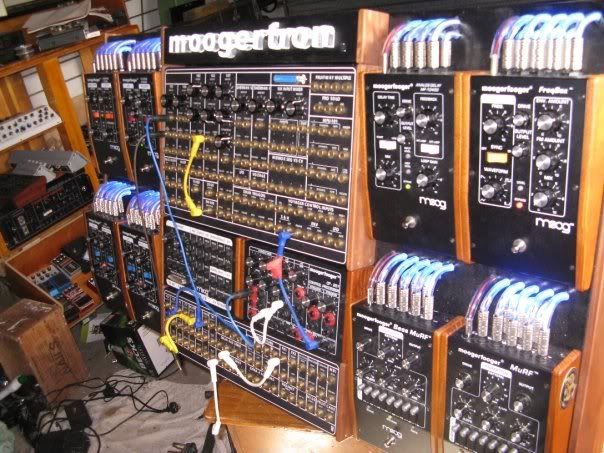
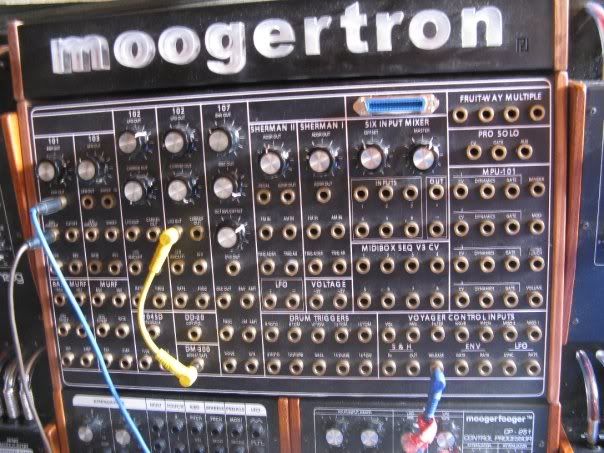
Well, it's an MF101, 2xMF102, MF103, MF104SD, MF105, MF105B, MF107, a VX-351 and a CP-251 all attached to a big 'ol box (which tilts, naturally!).
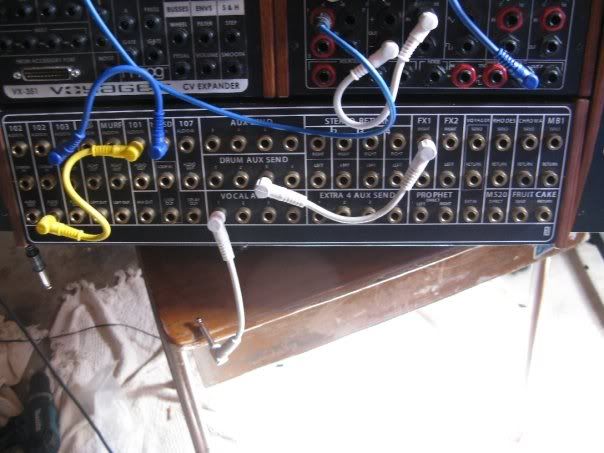
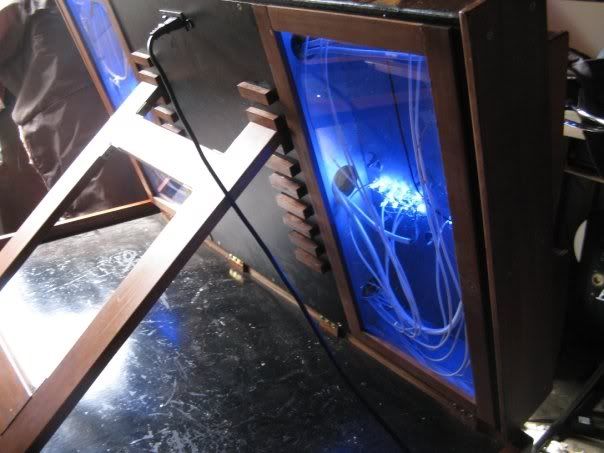
There are two DIY, vinyl printed patch panels, the top one is for CV, the bottom for audio. All sockets are the switched type and so where necessary the connections are normalled (e.g. MF102 Carrier Out to Carrier In, MF103 LFO Out to Sweep In etc.). Also to note: the 104(SD)'s CV input sockets must be normalled through a resistor to ground; I'm using 50k.
In addition, all CV outputs (LFOs, oscillators and envelopes) are passed through 100k resistors to provide built-in attenuation. Naturally, the Tap/Step inputs of the MuRFs are separated.
All audio is going through white-coloured shielded cable. All CV is through old DB-25/Centronics printer cables! This way it was easier to keep things tidy and colour-coded. It was still a sh!t-load of soldering.
The power supply is a single transformer putting out regulated 9VDC (I'll get an inside picture soon). It's based on an LM338 and needs a big heatsink and a fan just in case. As I noted on another post, there is a small amount of whine on the audio, so I'll be building a new supply with isolated secondary windings on the transformer.
Over 70 bright blue LEDs shining through clear tubing just for looks.
For those with 'foogers and patchbays, it really is nice to have all of the routing right in front of you. Once I got the sockets hooked up I just played with it for a few weeks.
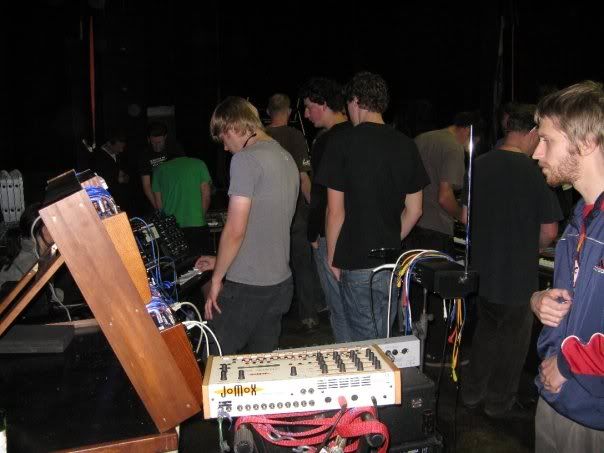
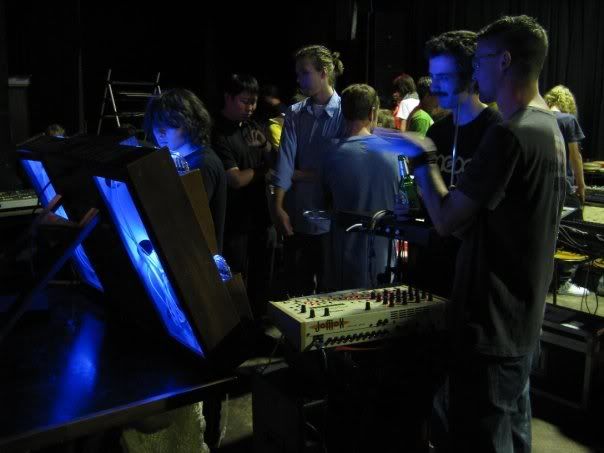
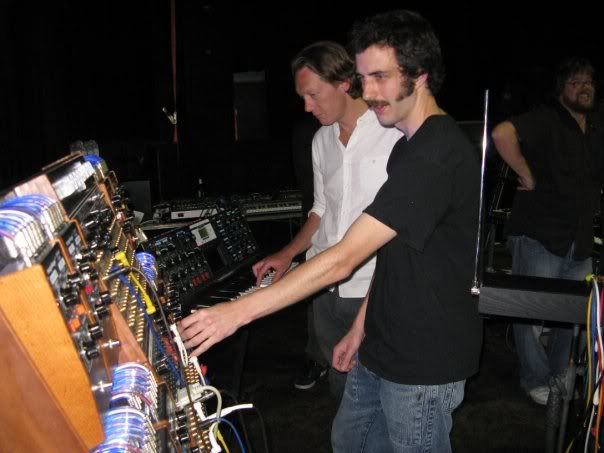
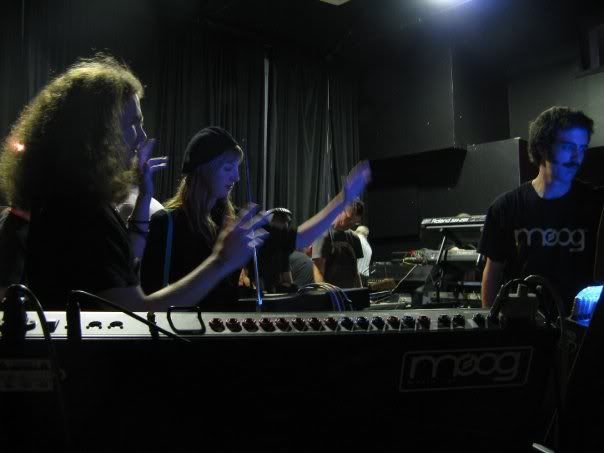
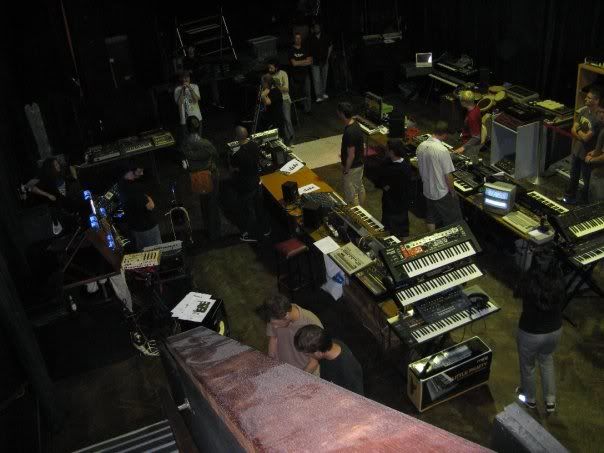
We took it out to "Music Machines"** just on Saturday, where about 100 people came through, including well-known Jazz muso Nathan Haines. We got some really good feedback and lots of awesome comments too
In terms of construction, my brother Pete handled the design, patchbays, woodwork and painting/staining, and I did the wiring and paid for it. Thanks bro, looks great!
It's intent is to be played live, so I hope that is happening soon.
Your questions, comments and suggestions are welcome.
Whew!
** Really cool annual ( ?) synth exhibition/workshop in Auckland. Some really cool gear there: 2xP5, P10, ProOne, MiniD, Source, MG-1, Oddy, JP8 Korg Trident, Clav, Wurli 200A, rack of Waldorfs, MS10s, PolySix, SH101s, a few I can't remember and lots of drum machines.
